Sending and Receiving Internet Fax
To send an Internet fax
How to Senda Fax
Load the original.

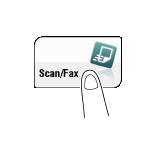
Tap [Scan/Fax].
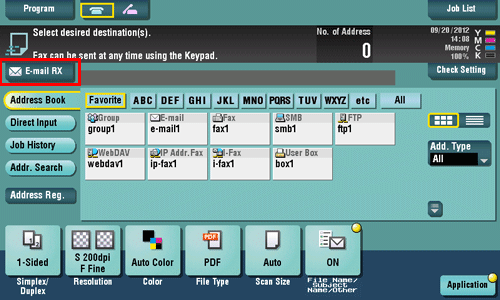
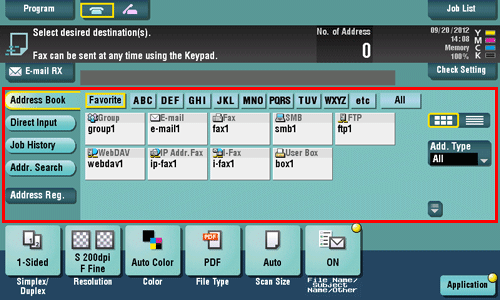
Specify the destination E-mail address.
Configure the option settings for fax transmission as necessary.
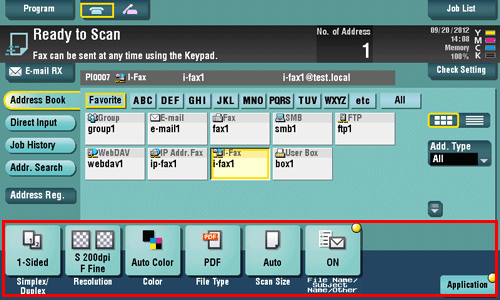
For details on configuring option settings, refer to the respective columns of the following table.
Purpose
Reference
To configure basic options such as color and original size
To configure options to scan various types of originals such as various sizes and books
To adjust the image quality level of the original such as colored background (newspaper, etc.) or light printing original
To print date/time and page number
Other option settings
Press the Start key.
Tap [Check Setting] before sending, and check the destination and settings as necessary.
To redo operations for specifying destinations or option settings, press Reset.

Transmission begins.
If you press the Stop key while scanning an original, the scanning process stops, and a list of stopped jobs appears. To cancel scanning of the original, delete the job from the list of inactive jobs.

When an Internet fax is sent, the TX result report is printed. With the TX result report, you can check for successful fax transmission.
When the recipient machine receives an Internet fax, an MDN message that provides notification of successful reception is printed on this machine. You can check whether the fax has been successfully received by reading the MDN message.

To receive an Internet fax
How to Receivea Fax
Auto reception
The machine automatically inquires the mail server for fax reception status at a predetermined interval (default: 15 minutes). If any fax is received successfully, the machine receives and prints the message.

You can skip printing and forcibly save the received fax to a User Box of this machine. This prevents fax data from being stolen or lost after being printed, and only the necessary fax(es) will be printed. If necessary, you can convert a fax to a computer-compatible file to manually forward it. For details, refer to Here.
Received faxes can be forwarded to a pre-specified destination. They can be converted to computer-compatible files for management. For details, refer to Here.
Manual reception
The user manually inquires the mail server for fax reception status using the Touch Panel.
Tap [E-mail RX] to inquire the mail server, and receive and print any fax receipt message.